Notice
Retro 3D Layer Painter Documentation
Notice
EXPERIMENTAL USE AT OWN RISK This is currently in alpha version of the development branch and is filled with bugs, we included as a courtesy for excited community members who still wanted to provide feedback and be involved in the development process. Thank you for your understanding. When this aspect of the toolkit is up to standard this notice will be removed.
Overview
The Retro 3D Layer Painter is an addon for Blender that provides a layer-based texture painting system. It allows you to create and manage multiple layers, each with its own texture, opacity, material properties, and blending options. The addon provides a user interface panel in the 3D View where you can add, remove, and modify layers, as well as create a combined material based on the layered textures.
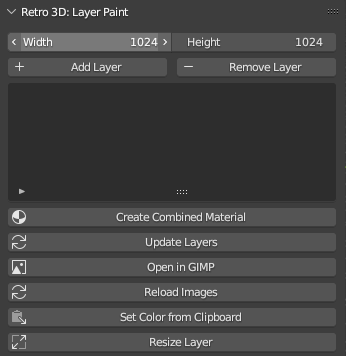
Panel Overview
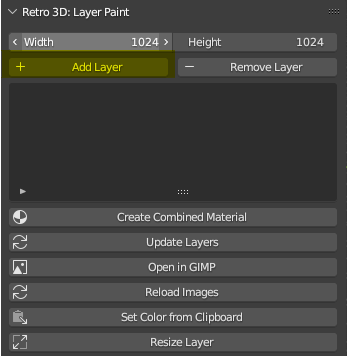
Adding a Layer
To add a new layer, click the "Add Layer" button with the '+' icon. This will create a new layer in the layer collection.
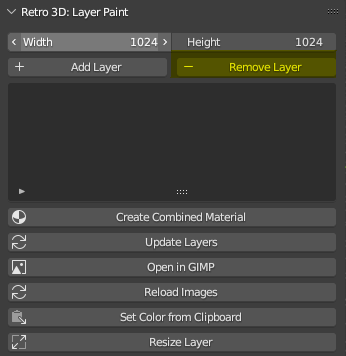
Removing a Layer
To remove a layer, select the layer you want to remove and click the "Remove Layer" button with the '-' icon. This will remove the selected layer from the layer collection.
Moving Layers
To move the layer position, select the layer you want to remove and use either the up or down arrow.
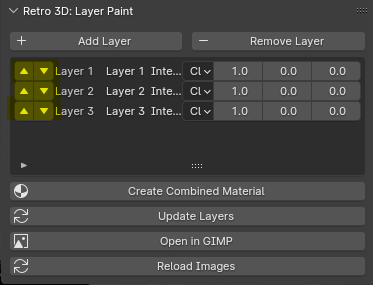
Layer List
The Layer Painter panel displays a list of all the layers in the layer collection. You can select a layer from the list to edit its properties.
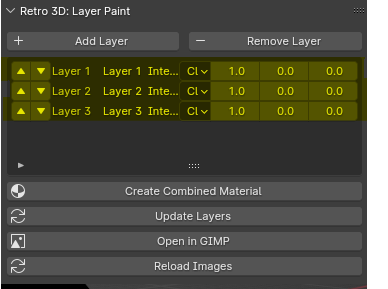
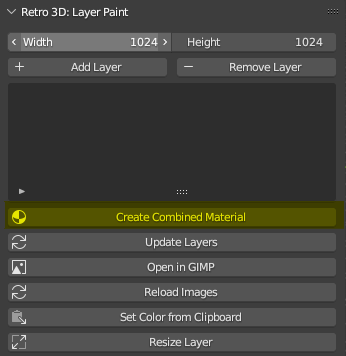
Combined Material
To create a combined material from all the layers, click the "Create Combined Material" button. This will generate a new material that combines the textures from all the layers.
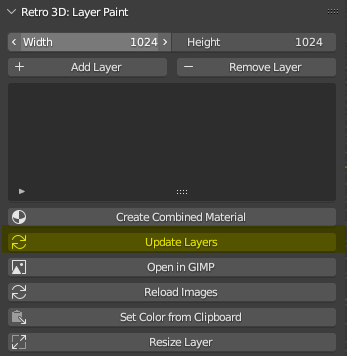
Updating Layers
To update the layers and refresh the layer list, click the "Update Layers" button.
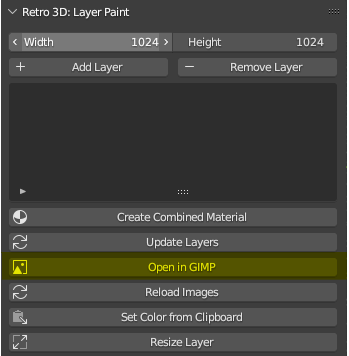
Opening in GIMP
To open the selected layer's texture in GIMP for further editing, click the "Open in GIMP" button. This will launch GIMP with the selected layer's texture loaded.
Note
Currently only supports editing textures directly, in future updates the entire data stack will be respected with common texture layering effects. There is also a small gamma discrepancy which needs to be addressed in a future update as well.
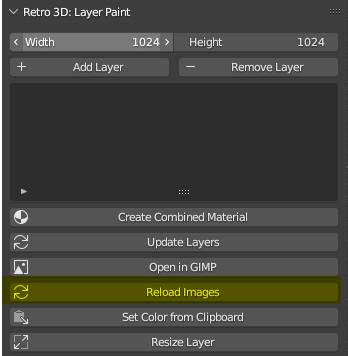
Reloading Images
To reload the texture images used by the layers, click the "Reload Images" button. This will refresh the textures and ensure that any external changes made to the image files in GIMP and saved are reflected in the Layer Painter.
Features
- Add and remove layers
- Adjust layer properties such as opacity, metallic, roughness, and interpolation
- Support for different material types (Principled BSDF and Emission)
- Reorder layers using move up and move down operators
- Create a combined material based on the layered textures
- Update layers to synchronize with the active object's material
- Open layer textures in GIMP for external editing
- Reload layer textures from disk for synchronization between applications
- Texture painting functionality using Blender's built-in painting tools
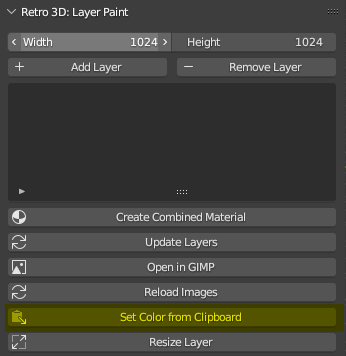
Set Color from Clipboard
The Set Color from Clipboard feature allows you to quickly set the current brush color using a hex color code from the clipboard.
To use this feature:
- Copy a hex color code (e.g., #FF0000) to your clipboard.
- In the 3D View, press
Ctrl+Shift+Cto activate the Set Color from Clipboard operator. - The brush color will be set to the color corresponding to the hex code in the clipboard.
Note
If no valid hex color code is found in the clipboard, a warning message will be displayed.
The Set Color from Clipboard operator is bound to the Ctrl+Shift+C shortcut in the Image Paint keymap.
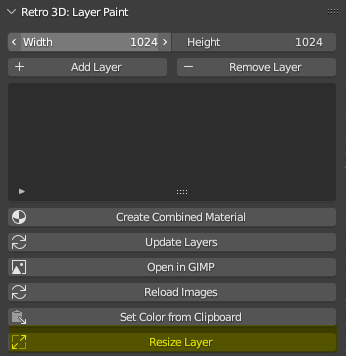
Resize Layer
The Resize Layer feature allows you to change the resolution of the selected layer's texture.
To resize a layer:
- Select the layer you want to resize from the layer list.
- In the Retro 3D Layer Painter panel, set the desired width and height values using the "Width" and "Height" properties.
- Click the "Resize Layer" button with the fullscreen icon.
The selected layer's texture will be resized to the specified dimensions. The combined material will be updated to reflect the changes.
Warning
Resizing a layer will affect the resolution of its texture and may impact the quality of the combined material.
The Resize Layer operator is accessible through the "Resize Layer" button in the Retro 3D Layer Painter panel.
Installation
- Download the addon script file.
- Open Blender and go to Edit > Preferences > Add-ons.
- Click on the "Install" button and navigate to the downloaded script file.
- Enable the addon by checking the checkbox next to its name.
User Interface
The Retro 3D Layer Painter panel is located in the 3D View sidebar under the "Retro 3D: Layer Paint" tab. The panel consists of the following elements:
- Add Layer: Adds a new layer to the layer collection.
- Remove Layer: Removes the selected layer from the layer collection.
- Layer List: Displays the list of layers with their properties and operators.
- Move Layer Up: Moves the selected layer up in the layer stack.
- Move Layer Down: Moves the selected layer down in the layer stack.
- Layer Name: Displays the name of the layer and allows renaming.
- Interpolation: Sets the interpolation method for the layer's texture.
- Opacity: Adjusts the opacity of the layer.
- Metallic: Adjusts the metallic value of the layer (only available for Principled BSDF material type).
- Roughness: Adjusts the roughness value of the layer (only available for Principled BSDF material type).
- Create Combined Material: Creates a new material that combines all the layered textures.
- Update Layers: Updates the layers to synchronize with the active object's material.
- Open in GIMP: Opens the selected layer's texture in GIMP for external editing.
- Reload Images: Reloads the layer textures from disk.
Usage
- Select the object you want to texture paint in the 3D View.
- Open the Retro 3D Layer Painter panel in the sidebar.
- Click on the "Add Layer" button to create a new layer.
- Adjust the layer properties as desired (name, opacity, material type, interpolation, metallic, roughness).
- Repeat steps 3-4 to add more layers as needed.
- Use the "Move Layer Up" and "Move Layer Down" operators to reorder the layers.
- Click on the "Create Combined Material" button to generate a new material based on the layered textures.
- Use Blender's built-in texture painting tools to paint on the active layer's texture.
- To edit a layer's texture externally, select the layer and click on the "Open in GIMP" button.
- After making changes to the layer textures externally, click on the "Reload Images" button to update the textures in Blender.
Preferences
The addon provides a preferences panel where you can set the path to the GIMP executable. To access the preferences:
- Go to Edit > Preferences > Add-ons.
- Find the "Retro 3D Layer Painter" addon in the list and expand it.
- Click on the "Preferences" button.
- Set the path to the GIMP executable in the "GIMP Executable" field.
Operators
The addon provides the following operators:
retro_3d_layer_paint.add_layer: Adds a new layer to the layer collection.retro_3d_layer_paint.remove_layer: Removes the selected layer from the layer collection.retro_3d_layer_paint.move_layer_up: Moves the selected layer up in the layer stack.retro_3d_layer_paint.move_layer_down: Moves the selected layer down in the layer stack.retro_3d_layer_paint.create_combined_material: Creates a new material that combines all the layered textures.retro_3d_layer_paint.update_layers: Updates the layers to synchronize with the active object's material.retro_3d_layer_paint.open_in_gimp: Opens the selected layer's texture in GIMP for external editing.retro_3d_layer_paint.reload_images: Reloads the layer textures from disk.retro_3d_layer_paint.paint: Performs texture painting on the active layer using Blender's built-in painting tools.retro_3d_layer_paint.set_active_texture: Sets the active texture for the image editor based on the selected layer.
Properties
The addon defines the following properties:
Layer: Represents a single layer with properties such as name, texture, opacity, material type, interpolation, metallic, and roughness.Retro3DLayerPaintLayerCollection: Represents the collection of layers with an active layer index.
UI Classes
The addon provides the following UI classes:
Retro3DLayerPaintLayerList: Defines the layout and behavior of the layer list in the user interface.Retro3DLayerPaintPanel: Defines the layout and elements of the Retro 3D Layer Painter panel in the sidebar.
Utility Functions
The addon includes the following utility functions:
update_active_layer_index: Updates the active layer index and synchronizes the viewport shading and texture slot.set_viewport_shading_and_texture_slot: Sets the viewport shading to "Material" and assigns the active texture to the material's texture slot.sample_texture_center: Samples the color values at the center of a texture.render_layered_textures: Renders the layered textures by blending them based on their opacity and material properties.
Preferences
The addon provides a preferences class Retro3DLayerPaintPreferences where you can set the path to the GIMP executable.
Registration and Unregistration
The addon's register() and unregister() functions handle the registration and unregistration of the addon's classes and properties.
Conclusion
The Retro 3D Layer Painter addon provides a powerful and intuitive way to create and manage layered textures in Blender. It offers a range of features and customization options to enhance your texture painting workflow. By following the provided documentation and exploring the addon's functionality, you can effectively utilize the Retro 3D Layer Painter to create stunning textured materials for your 3D models.