Smart Pixel UV Settings
Retro3D Toolkit: Smart UV Settings
Welcome to the Smart UV panel of the Retro3D Toolkit, this is a simple but powerful way to save you time during your workflow. Right now this panel is a simple way to automate blender's build in processes common to this workflow.
Understanding the Smart UV Panel
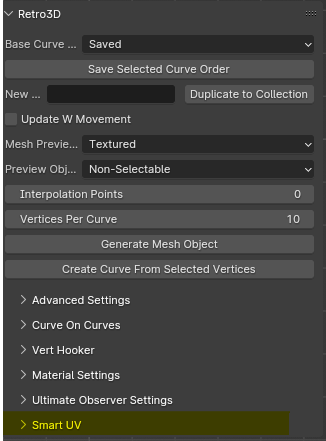
To find this panel in your project, simply locate the "Smart UV" dropdown option in the primary Retro3D Toolkit panel from the 3D View.
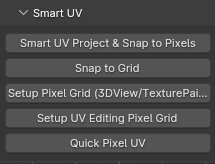
The options are few but the operators are useful.
Smart UV and Snap To Pixel Grid
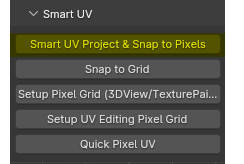
This does exactly as the name suggests. This uses blender build in smart UV project and follows it up automatically by snapping the newly created UV map to nearest snapped pixel.
Why It's Important: Not having to manually switch workspace areas and then following it up with common commands saves your body and your mind the pain of repitition stress and allows more time to be spent creating the actual objects and art.
Snap To Grid
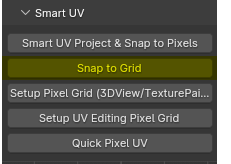
This process simulates the "snapping" effect found in vintage hardware by allowing the user to determine the resoltion of the snapping quality. This is determined by the Texel Density found in the Advanced Settings.
Why It's Important: This prepares the model towards the end of its modeling phase and prior to texturing to ensure there is a standard in place when translating the ( Optionally ) built to pixel scale 3D model. This will shift the model and lock it into a simulated grid, giving each edge length a nearest rounded pixel unit in length.
Custom Pixel Grid
Here we will provide an in depth guide on how our set up process constrains blender's various work spaces to create a single and cohesive workflow tailored for hand painted and stylized texturing workflows. Our set up is as simple as clicking the Setup button in the relevant work spaces. Below is an image that shows the current supported workspaces that are compatible with our one click setup.

Setup Pixel Grid 3DView & Texture Paint
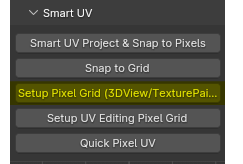
This operator is valid in both the primary 3DView and also the Texture Paint work spaces. All you need to do is click setup when starting a new project and your workspace will be tailored for this workflow.
This setup procedure does multiple things:
It establishes the blender unit size to operate "Per Pixel" or as we like to describe it Texel Space.
It automatically enables "Snap" navigation ( Blender's Built In ).
It also disables the "Metric" form of Unit measurements and changes it to None, using our custom method instead.
Setup UV Editing Pixel Grid
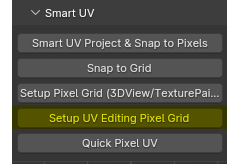
This one will apply the Retro3D settings in the UV editing workspace.
Quick Pixel UV
A powerful sequence of operations designed to streamline your stylized 3D modeling and texturing workflow in Blender. This panel automates common processes, saving you time and effort while ensuring precision and consistency.
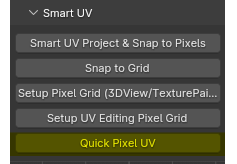
See our sequence table to see which processes or automated.
| Sequence | Description |
|---|---|
Cube Projection |
Basic Cube Projection |
Pack Islands |
Pack Islands W Preset |
Snap To Pixel |
Snaps To Pixel (UV) |
Cube Projection -> Pack Islands ( With Settings such as disable rotate and orient axis) -> Snap To Pixels
This should get you 90% of the way towards your target.
Test