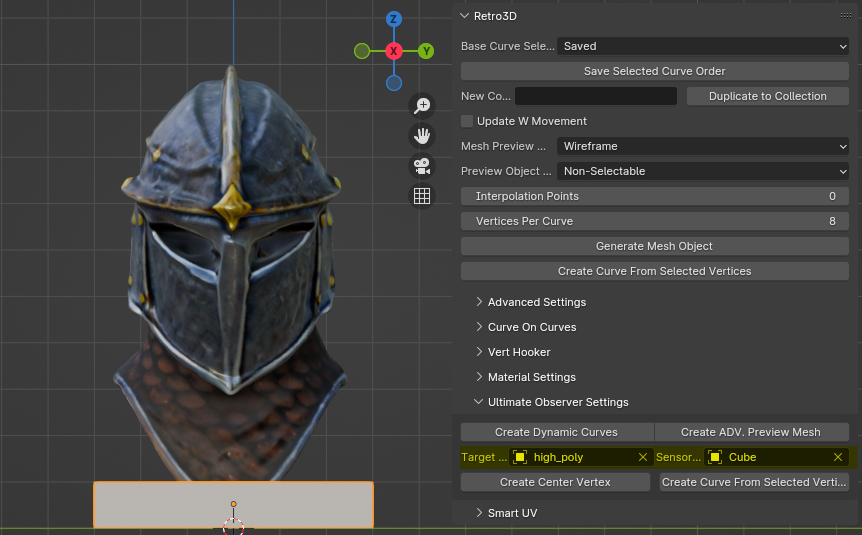
Ultimate Observer Settings
Retro3D Toolkit: Ultimate Observer Settings Guide
Welcome to the Ultimate Observer Settings panel of the Retro3D Toolkit, a powerful set of tools designed to enhance your 3D modeling workflow in Blender. This panel provides advanced functionality for creating dynamic curves and preview meshes, which can be particularly useful for low-poly and stylized models, as well as for integrating AI-generated meshes into your projects.
Accessing the Ultimate Observer Settings Panel
The Ultimate Observer Settings panel is integrated into Blender's 3D Viewport UI and can be found under the 'RETRO3D' tab, as a sub-panel of the main Retro3D settings.
Using the Ultimate Observer Settings Panel

The Ultimate Observer Settings panel provides a few key features and main functions:
-
Create Dynamic Curves: This operator allows you to create dynamic curves based on the surface intersection of existing curves. It's particularly useful for adapting complex or AI-generated shapes into a more manageable, low-poly form. It currently only supports bezier circles and was designed to aiming towaards geometry origin. Other types of sensory exploration is planned for our observer.

-
Create ADV. Preview Mesh: This operator generates an advanced preview mesh from your existing curves. It provides a quick way to visualize how your curves will translate into a 3D model, helping you refine your design before committing to the final mesh. This is only compatible with a curve collection that has constraints present.

-
Target Object: This property which can be selected using the eye dropper tool, determines which object our sensor object will be observing within its bounds. This is useful when creating a curve within a existing object and want a detailed approximation prior to more curvemeshing workflow techniques employed by our system.

-
Sensor Object: This property which can also be selected using the eye dropper tool, determines which object will be used as a bounds check. We designed this to use a simple cube as the bounds object and haven't tested other use cases, should theoretically support other objects as we use bounds checking anyways. This is used to determine partial bounds coordinates of our Target Object, used with Create Center Vertex Operator.

-
Create Center Vertex: This operator puts both the Target Object and the Sensor Object to work by allowing the sensor object to observe the target object, and averages all detected vertices within its bounds and creates a vertice in its averaged centered world coordinates. Extremely useful when followed up with "Create Curve From Verts" Operator.

-
Create Curve From Verts: This operator puts both the Target Object and the Sensor Object to work by allowing the sensor object to observe the target object, and averages all detected vertices within its bounds and creates a vertice in its averaged centered world coordinates. Extremely useful when followed up with "Create Curve From Verts" Operator.

Why It's Important
The Ultimate Observer Settings panel offers several key benefits for 3D artists:
-
Psuedo "Alternative" to Retopology: By allowing you to approximate complex meshes with verts or curves and then regenerate them as low-poly models, this tool provides an efficient alternative to traditional retopology techniques. We use this term very generously, as nothing beats the intricate hand woven work of a master at their craft when in the retopology process. This is technically more having an existing mesh object available in the scene as a reference while creating a new one.
-
AI Mesh Integration: As AI-generated meshes become more prevalent, tools like the Ultimate Observer can help you seamlessly incorporate these assets into your projects, adapting them to fit your specific low-poly or stylized aesthetic. Note this is still a highly experimental feature and pipeline and new features will dynamically scale based on industry standards of what text to 3D can produce.
-
Iterative Design: The ability to quickly generate preview meshes from your curves enables a more iterative design process, letting you experiment with different shapes and forms without investing significant time in creating detailed models.
Step By Step Practice: Basic Helm - Dynamic Curves
Since you have been following along, this time we will go over quickly the overview of how simple this can be once you have established familiarity.
Common Follow Up Keys:
| State | Description |
|---|---|
Shift+V |
Move verts along edges |
Shift+Z |
 X-Ray Mode Toggle X-Ray Mode Toggle |
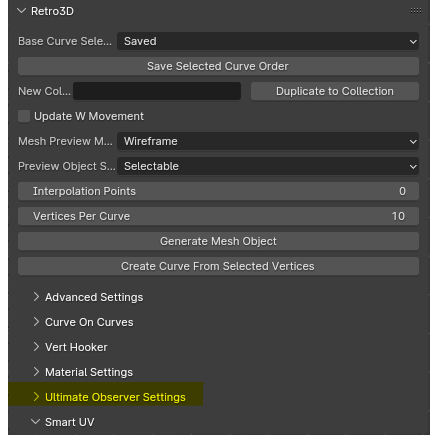
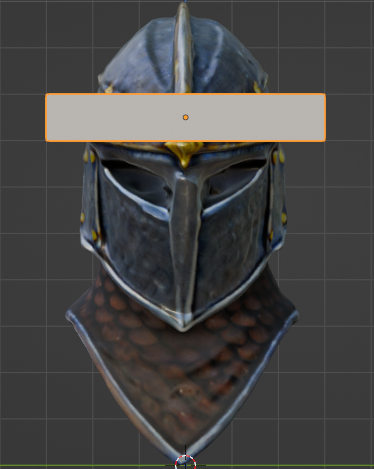
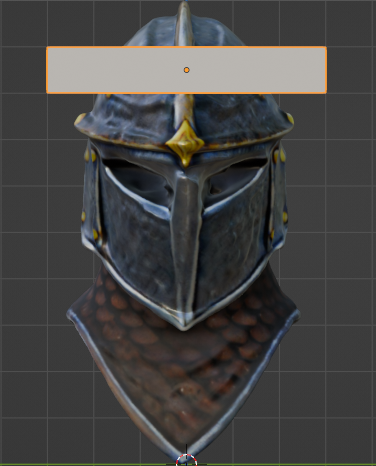
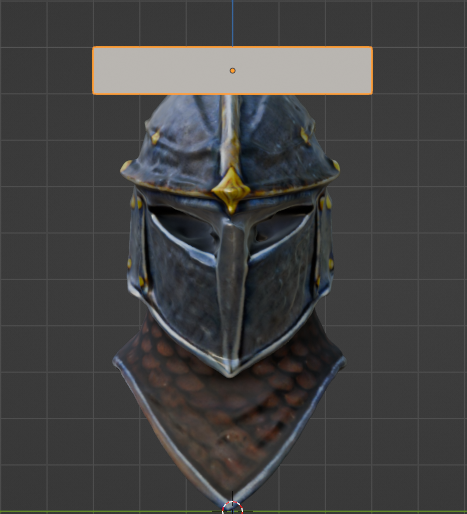
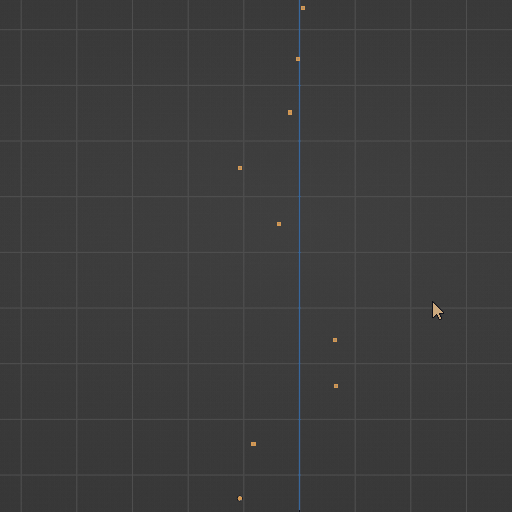
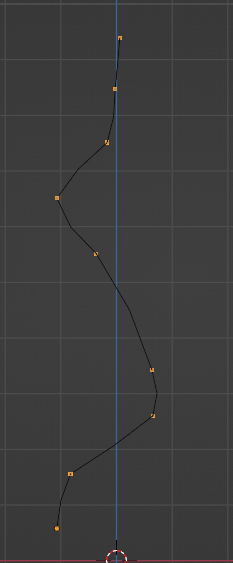
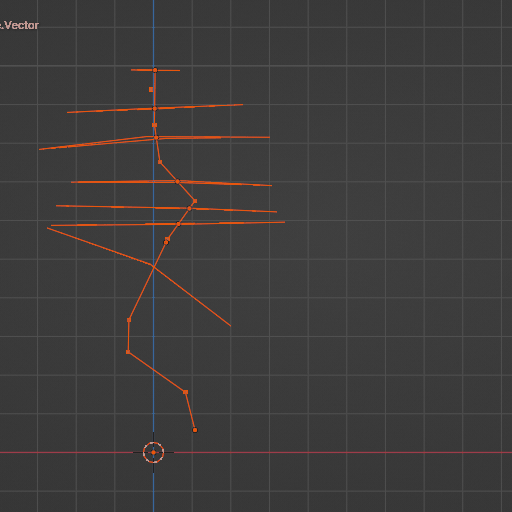
Establish the path of the observer curve.

Create curves on Curves as shown in our guide here
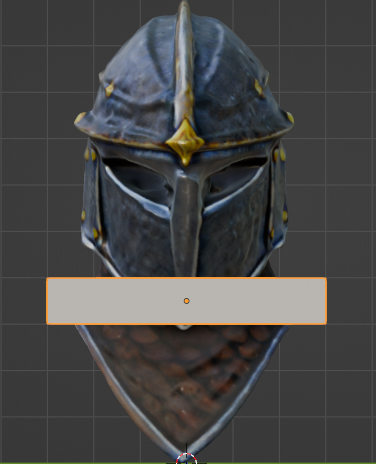
Place the object under observation by the ultimate observer at the center of the circles as much as possible.
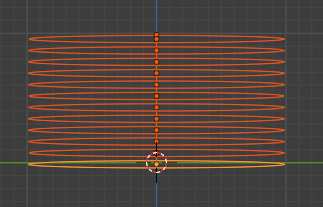
Click on "Create Dynamic Curves" to then project the curves towards the object under observation.
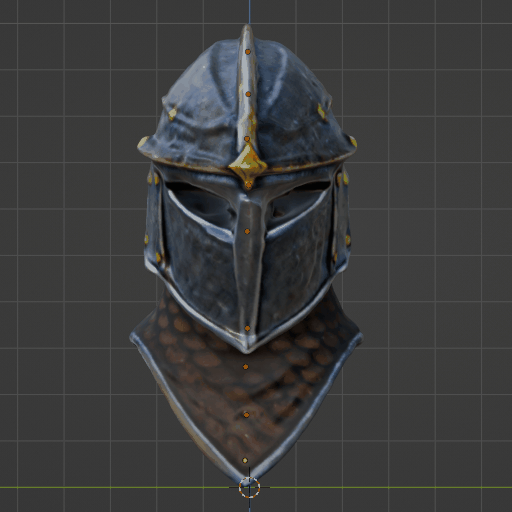
Start with a simple Anchor Curve and also a Target Curve. Highly recommended to establish a base asset library of common curves you find yourself using so you can simply drag and drop.
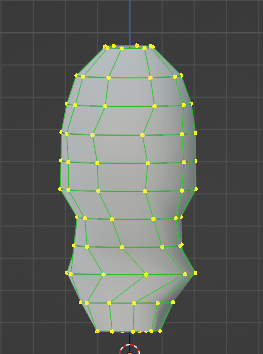
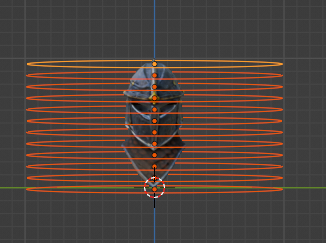
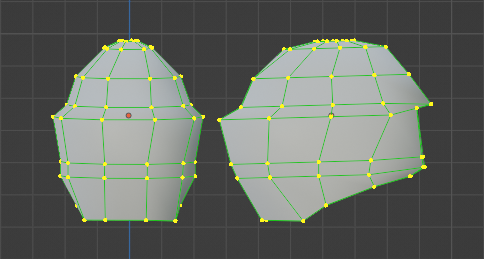
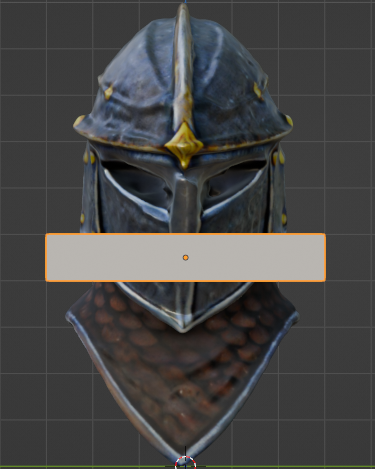
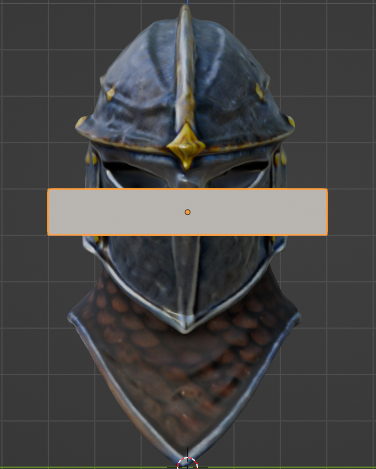
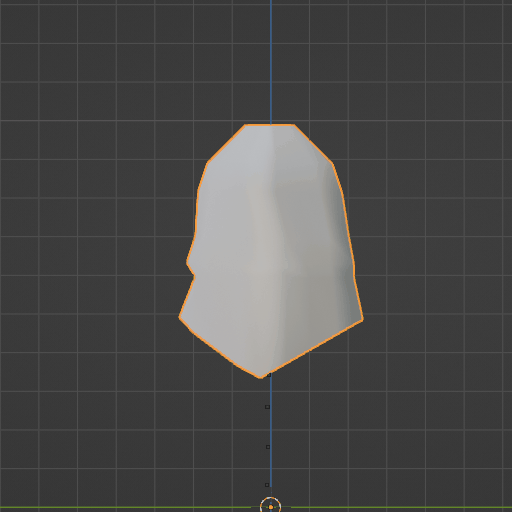
Simple Clean Up Either through rearrangement of the curves used to generate the mesh, or through the traditional means as well. Common cleanup controls listed below. Note this is Front view (Left) and side view (Right)
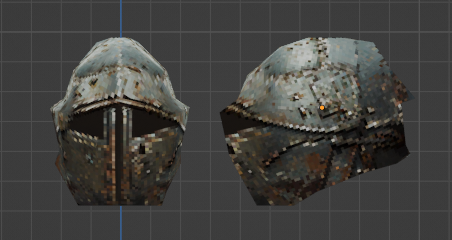
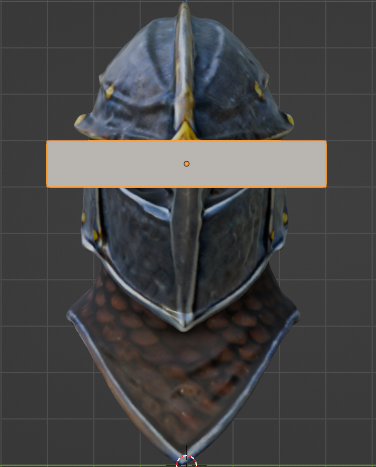
Pick any various ways to texture ( far outside the scrope of this tutorial ). We decided to texture it entirely different than our reference!
Step By Step Practice: Basic Helm - Sensor Method
Since you have been following along, this time we will go over quickly the overview of how simple this can be once you have established familiarity.
Common Follow Up Keys:
| State | Description |
|---|---|
Shift+V |
Move verts along edges |
Shift+Z |
X-Ray Mode Toggle |
Setup: Sensor Method
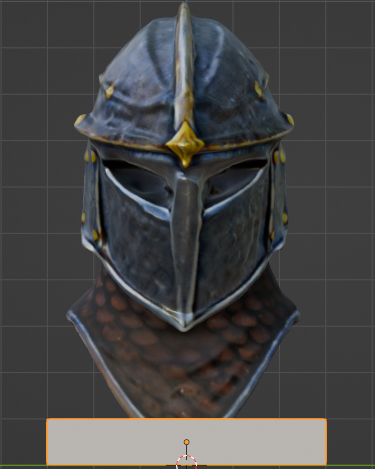
Create your sensor object, which in this case is a base cube, we adjusted this one to match the current unit scale for clarity. Pay attention to how the cube occupies a single grid space as outlined with red.
Setup: Target and Sensors
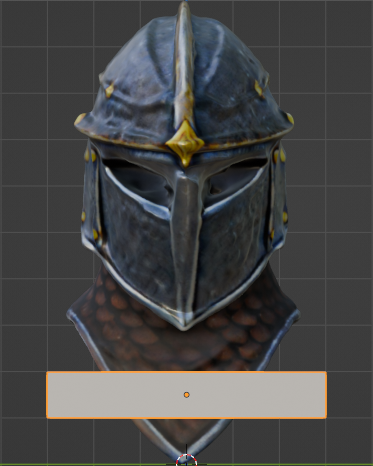
After creation, ensure that you have properly assigned both the Target Object and the Sensor Bounds Object.
Setup: Target and Sensors
After creation, ensure that you have properly assigned both the Target Object and the Sensor Bounds Object.
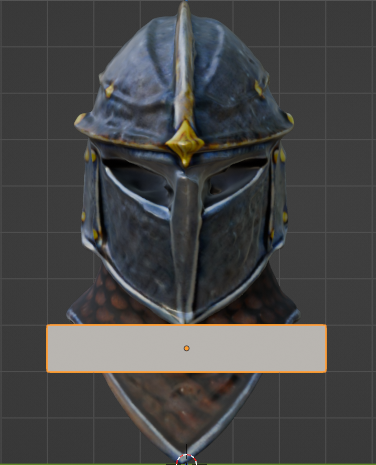
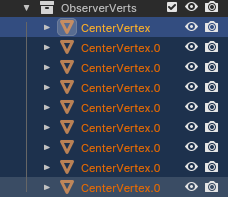
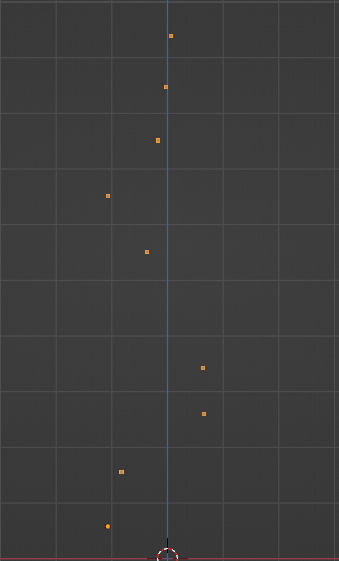
Each step of our observation should be followed by activating the "Create Center Vertex" operator. This will create a single vertex in the center of the average verts detected by the sensor on our target object.
Repeate the process as shown below.
As you can see, we have clearly placed our vertices exactly where we wanted them!
Next Step: Sensor Methods
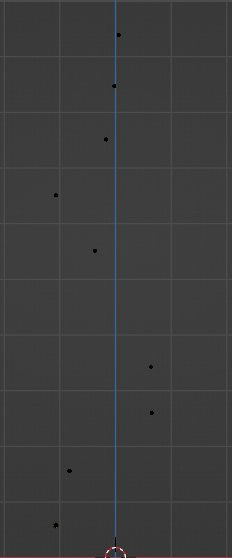
Now that we have our vertices, we need to combine them into a single object, this can be done by using the simple control key as shown.
| Control | Description | Mode |
|---|---|---|
Control+J |
Combine Mutliple Objects | OBJECT |
After using the built in operator we now have a single object!

Careful: Must Read
Due to the current implementation and deeply rooted blender functionality, this is currently the best way to achieve the desired outcome. This is the only "wonky" part of our implementation. Be advised that once you understand how the selection system works and is automated you will likely never have to read this again.
Selection System
To use our build in selection system, we have to follow these exact steps to get this selection to work with our follow up operator. As you can see we have a single object with our created vertices
| Sequence | Description | Mode |
|---|---|---|
Tab |
No Verts Selected | OBJECT |
Tab |
Select Vert | EDIT |
Tab |
Switch Modes, Saving Vert | OBJECT |
Tab |
Switch Modes, Entering EDIT | OBJECT |
Shift+LeftMouse |
Select Vert | EDIT |
ReleaseShift |
Switch Modes, Saving Vert | OBJECT |
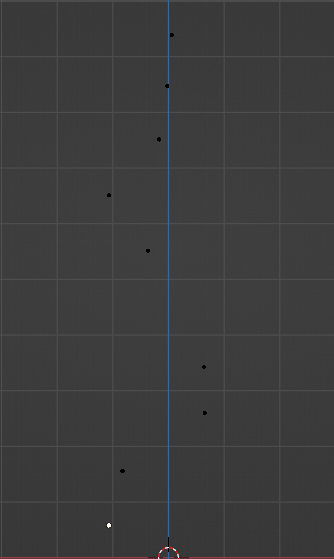
Now that we have done the most of the dirty work we can begin to build our mesh however we see fit. We can now use the "Create Curve From Selected Vertices" operator that was discussed earlier in this page.
If you have not already followed the instructions and quick guide provided in the documentation for Curve On Curves please read through and follow the instructions on how to use curves with curves as we will be doing so below. After you have done so, assign your Target Curve and your Staged Curve.
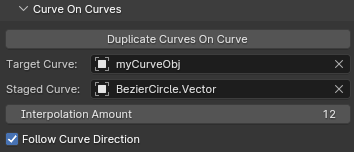
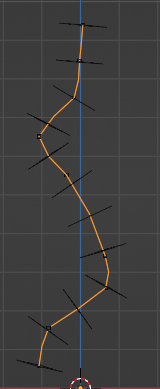
Now we can duplicate our staged curve along our target and begin to make changes to the instances of the curves along curve!
Since we are not doing 1:1 ratio reconstruction for this case ( At the time of write text to 2D complete recreation would be pointless due to lack of quality) we can pickt the parts of the model that seem intereresting or may be easier to work with compared to what was provided. Tailoring our model to match what our skill level is comfortable with.
Texturing techniques are far beyond the scope of mesh generation, in a another part of our documentation we will go over some techniques we can employ with this toolkit to achieve a "Retro3D" or "3D Pixel Art" visual aesthetic when preparing your pipeline.
Conclusion
The Ultimate Observer Settings panel in the Retro3D Toolkit is a valuable addition to any 3D artist's toolset in Blender. By streamlining the process of creating dynamic curves, control oriented vertices from sensors and quick iterations of preview meshes, it opens up new possibilities for low-poly modeling, AI mesh integration, and iterative design. Whether you're working on stylized game assets or exploring new forms through AI-generated content, the Ultimate Observer can help you bring your vision to life more efficiently and effectively.